Thursday, September 26, 2013

Project Learn and Grow Clouds

Cloud Jars
For our project learn and grow day we experimented with cloud jars.  We are studying the letter C and the kids love food coloring so this was perfect.
All you need

  • A jar
  • Shaving cream
  • Food coloring
  • Water
  • Droppers
We filled cups up with water and food coloring.  Then we filled the jars 2/3rd full of water and applied shaving cream to the top.  The more shaving cream you add the longer it takes for the food coloring to go down into the jars.  It took us about 30 minutes to see good results, but the kids never got bored.  Just dip dropper into food colored water and drop it onto the shaving cream.  Have the kids do it over and over again until they are amazed by the transformation.
This is how they looked when they were all done.  Cody's is the middle jar, he added so much at the end it was all one color.  The other two are hard to see, but the color is slowly moving down the bottom.
Soap Cloud
All you need

  • Bar of Ivory soap
  • A plate
Just stick the soap on the plate and put it in the microwave for 2 minutes.  After a few seconds it starts to form into a cloud and the kids like watching it get bigger and bigger.  Remove it from the microwave and let it cool.  Then the kids can hold it.
After we were done with that we decided to make bath paint out of it.
Bath Soap Paint

All you need

  • The bar of Ivory soap microwaved and crumbled
  • Boiling water
  • Blender
  • Food coloring
  • Plastic cups
Put the crumbled soap into the blender.  Pour a small amount of boiling water into the blender and blend until it has a yogurt consistency.  Then stir in the food coloring.  When the kids took a bath it had got hard so I stuck the cups in the microwave for a few seconds to soften it up.  Watch it while in the microwave cause it will rise up and spill out.  We then took it to the bath and used paint brushes and the kids had a blast.

Tuesday, September 24, 2013

Letter C

Numbers and Colors
All you need
  • Empty water bottles
  • Paint
  • Pom poms
  • Dry erase marker
  • Scissors
Just cut a hole in the bottom side of the water bottle right where the pom poms are.  Leave a lip at the bottom so they don't fall out.  Paint the colors you want to use around the bottle.  I used a dry erase marker to write the numbers on the top so I could wipe them off and reuse it for another number.  I put all the pom poms out and started with number 1 and went to 10.  Colin struggles with his colors so this activity was mostly for him.  By the end of the activity he was doing really good and could sort them all by himself.  

Paper Color Wheel
All you need
  • Paper cut into a circle
  • Different colors and designs of paper
  • Glue
I just cut a circle out of paper and cut up all the different colors of paper.  We started with the color blue and did red.  This activity was a little time consuming for the kids so we will do the other colors for another lesson.
Rainbows
All you need
  • White paper cut into a cloud shape
  • Different colors of paper cut into strips
  • Glue
I cut out a cloud for them and they picked their strips of color and glued into onto the cloud.  Even though this activity was really easy they loved it.  I think this was their favorite.


Thursday, September 19, 2013

Making Playdough and Bubble Snakes

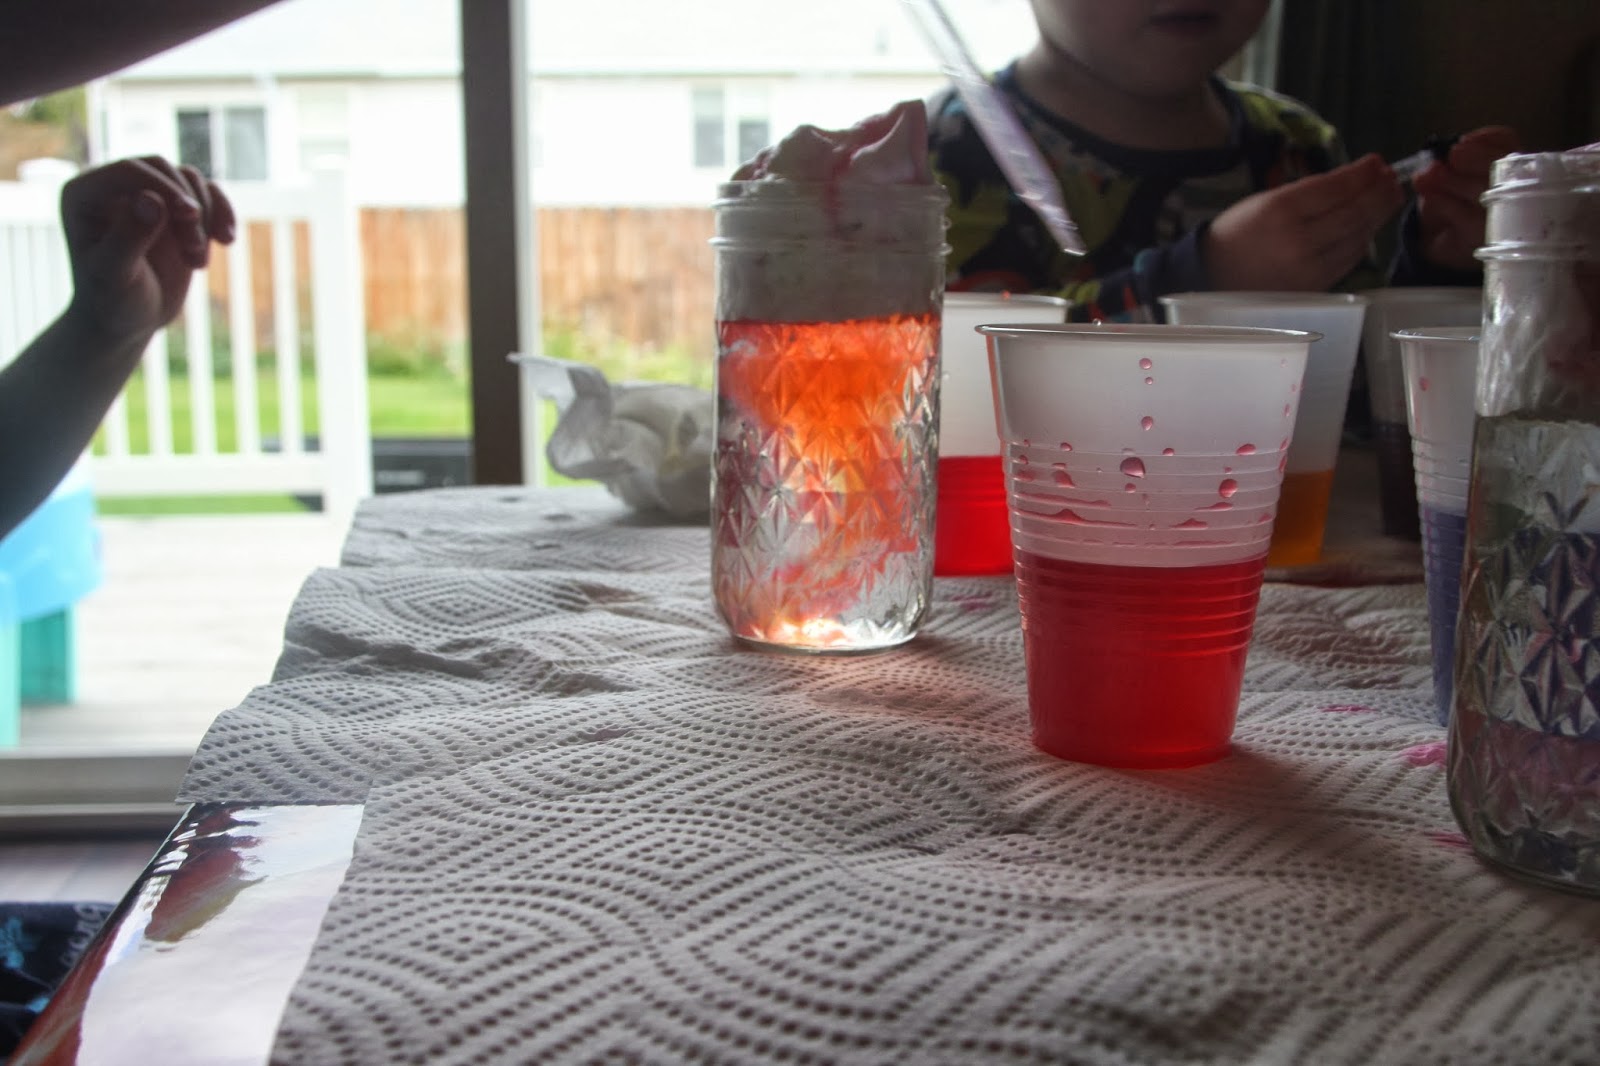
Today was project learn and grow day so we made play dough, bubble snakes, and attempted making giant bubbles.  The boys love to be in the kitchen with me so for both of these experiments they helped me a lot.
Play dough


 All you need:

  • 1 cup flour
  • 1 cup water
  • 1/4 cup salt
  • 2 tsp cream of tartar
  • 1 Tabls vegetable oil
  • Food coloring 4-5 drops
Dump all the ingredients into the pot and give it a good stir.  Put the pot on the stove on medium, stirring constantly, until it forms into a ball.  When it forms into a big ball take it off the heat and dump it onto wax paper.  Let it cool, and then knead it until it is soft.  Let the kids help.  My kids love to dump things into the pot so I pour and they dump and of course they stir for a little bit.  I got the recipe from the girls at how does she.  I love how they put the play dough in tupperware and give it away as presents.


When we finished making the play dough we made the letter B, a bug (spider), a balloon, and blocks. Cody and Colin worked on making balls and we colored it blue.

Bubble Snakes
We tried to make giant bubbles like the ones on pinterest, but we didn't succeed.  If anybody knows a great recipe for them I want to know it.  Instead we made bubble snakes.
All you need:

  • Plastic water bottle
  • Sock
  • Duct tape
  • Dish soap
  • A little water
  • Bowl


 Cut the bottom off the water bottle.  Put the sock over it and tape it on.  Dip the bottom of the bottle into the soap mixture and blow as hard as you can.  I used too much water, but with less water then the bubbles form into a snake.


Tuesday, September 17, 2013

Letter B

Today the kids learned about the letter B.  They made a bee from the letter B which the kids loved.

 We just glued wings and yellow and black strips of paper onto the letter.  I just let them use their imagination and put the strips wherever they wanted too.  They loved this since it was a little more creative then just putting strips of paper onto a paper bee.
The next activity was making caterpillars and ladybugs.  They love bugs and these two bugs are some of their favorites.

 We cut out a bunch of different colored circles and they glued each on together and put legs and eyes on it.  For the ladybugs we just cut out two red circles one big and one small.  Then we glued the little one to the big one making a head connected to the body.  We then drew a face and the wings on it.  The caterpillar activity was fun cause Cody kept telling me how caterpillars become butterflies. He remembers everything he hears on Wild Kratts.


  We also did a shapes activity.  I had some pieces of papers with different shapes on them and the kids went around the house looking for items that match those shapes.
The boys had a lot of fun and when they were all done we went outside and looked for bugs which ended up them playing in their sandbox.


Thursday, September 12, 2013

Balloon Experiments


I have made Thursday's our Project Learn and Grow day where we always do a science experiment. the kids love experiments so this is the funniest day for them.  Today we had fun with balloons so we raced balloons and made a balloon hovercraft.

Balloon Racers


All you need is
  • String
  • Straws
  • Balloons
  • Tape
We just tied one side of the string to a chair and put a straw through it and then tied the other end of the string to another chair.  We blew up the balloon and taped it to the straw.  We held the end of the balloon and let go to see who's balloon won.  In this lesson the kids learned about force.

Balloon Hovercraft

All you need is
  • CD
  • Balloon 
  • Any glue that glues to plastic
  • Sport bottle cap
We glued the sport bottle cap to the cd and let that dry.  When it's all done we blew up the balloon and attached it to the water bottle cap.  Then we let go and watched it hover on the table.  It's really hard to see so we tilted the table and watched it glide down.  In this lesson the kids learned about friction.
The kids love balloons, science, and anything that makes them say wow so this was a big hit with them.

Tuesday, September 10, 2013

School Starting

Last year I put Cody in a co-op preschool organized by some friends.  Cody liked it so much and I liked watching him learn and grow.  The only problem I had with it was I felt like I couldn't give all of the kids attention so when one kid was done they were all done.  This year I have decided to do preschool with just my kids.
Today was the first day of school and the kids loved it and so did I.  I could just sit there with both of them and give them all of my attention.  I thought after each activity they would want to play since that is what they did in the co-op school.  To my surprise they just sat and wanted to move onto the next activity when they were done.
On the first day of school we traced the letter A.  I got some tracing sheets from guru parents and the kids traced and colored for a few minutes.  I also got some preschool and kindergarten workbooks from Costco that they worked on for a little bit.
My boys love legos so I found a numbers worksheet and got a bunch of legos and helped them count from 1-10.

This was their favorite activity for the day.  After they were all done they wanted to play with their legos and show me everything they made.
The kids then glued fruit loops onto a letter A that I drew for them.