Thursday, October 24, 2013

Making Glow in the Dark Gooey Slime

Project Learn and Grow- Glow in the Dark Gooey Slime

All You Need:

  • 2 Elmer's white glue bottles
  • 3-4 Tablespoons glow in the dark paint
  • Water
  • Food coloring
  • 1 teaspoon borax
  • 1/2 cup warm water

Step one: Pour the white Elmer’s glue into a bowl. Fill the empty bottles with warm water, place the lids back on and shake the bottles (this will help remove any remaining glue inside the bottle and make it easy to measure your water). Pour the watery glue into the bowl and mix with a spoon.
Step two: At this point you want to add food coloring to your glue
Step three: Stir in the glow in the dark paint into your glue mixture.
Step four: In a small bowl mix 1/2 cup of warm water with 1 teaspoon of Borax (the warm water will help dissolve the borax).
Step five: Mix the borax water and glue mixture together with a spoon, but but don’t be afraid to use your hands to fully mix the two together.
The special ingredient that makes the glue turn into slime is the borax. Play around with the amount to get the perfect consistency, if you prefer a runny slime use less borax. Also, when you first began mixing the glue and borax water the slime will be VERY runny and a weird texture, don’t freak out! The more you play with it the better the consistency will turn out.
The kids loved playing with it and helping me mix it all together.  I have tried this before and it didn't work, but this recipe worked perfectly.  
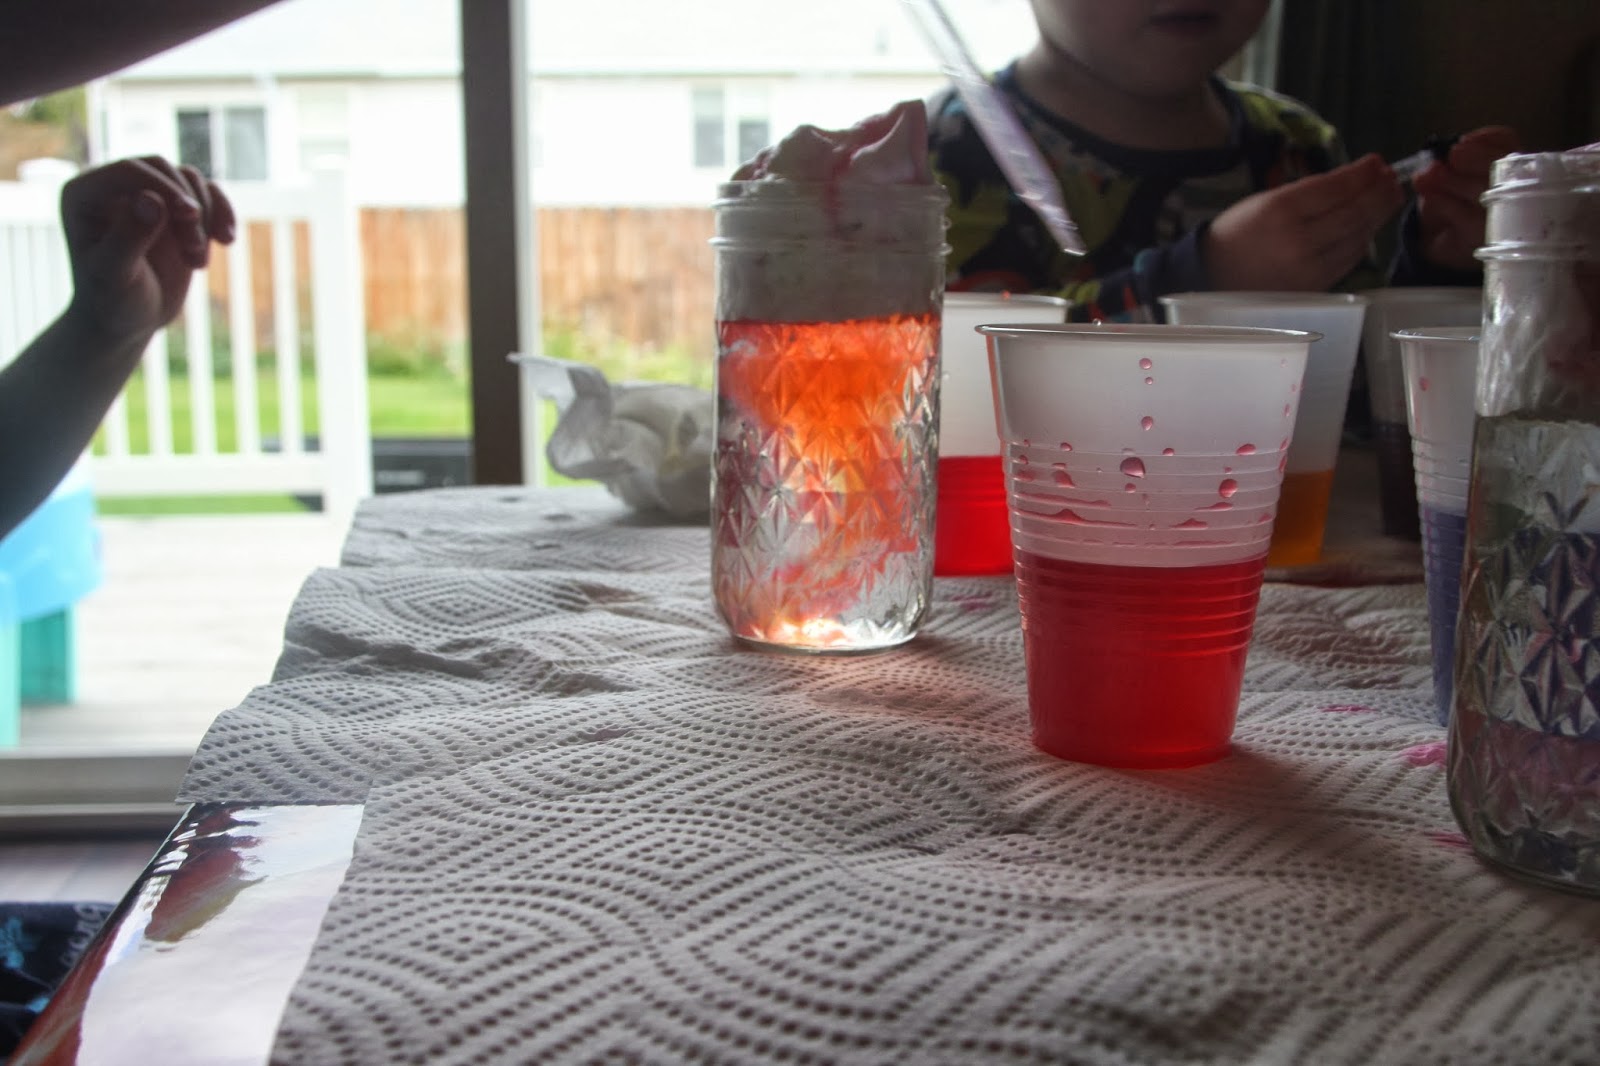
We took it to a dark room and made sure it could glow.  
The kids love doing experiments like this.  It is one thing to buy this from the store, but to see the kids reactions when they help make it is so fun.  

Tuesday, October 22, 2013

Giraffes and Ghosts

Letter G- Making giraffes out of a hand print

All You Need:
  • Paint
  • Paper
My kids love paint.  It's not my favorite item to be played with, but sometimes I allow it so they can be happy.  Cody's favorite animal is a giraffe so I thought this would be a perfect activity for them.  We got some paint that we wanted for the giraffe and dipped our hand in it.  Put the hand print on the paper so the fingers turn into the legs of the giraffe.  For the the neck of the giraffe we just drew with the index finger a line and put our thumbprint as the head.  Then we got the dots and dipped the tip of our finger in gold paint and made dots all over the giraffe.  Finish it up with some eyes, ears, and let it dry.


Cotton balls and Ghosts

All You Need:
  • Paper
  • Cotton balls
  • Glue


It's Halloween time so we made ghosts.  The kids loved these and they played around the house for a long time with them.  I cut a ghost shape out of white paper and the kids glued cotton balls all over the paper.  Then we took black foam paper, but regular black paper could also be used and we made eyed and a mouth and it turned into a ghost.  Such a simple activity that kids will love making and playing with.  


Thursday, October 17, 2013

Fast Explosions

Project Learn and Grow
Fast Explosions with Soda

All you Need

  • Diet soda
  • Mentos
The kids love explosions so I thought this one would be simple and fun.  I found out people use Diet soda so it's less sticky.  I wanted to do and experiment and use diet soda and some regular soda and see which one works best.  The kids picked out grape and orange for the regular soda.  The diet soda worked the best.  It wasn't as big of an explosion as I thought it would be, but the kids loved it.
The grape soda was barely an explosion.
The orange soda got a little bigger then the grape, but still not a lot of fun.  Our conclusion was the diet soda works the best.

Tuesday, October 15, 2013

Fish and Finger Puppets


 Letter F

All you need

  • A letter F 
  • Little fish
We just cut out a bunch of little fish and glued them onto the letter F.  After they were all done gluing the boys colored the fish to make it look nice.
Monster Finger Puppets

 All you need

  • Pipe cleaners
  • Pom poms
  • Plastic eyes
  • Glue gun
  • Scissors
We just wrapped the pipe cleaners around our fingers and then glued the pom poms on the tip of the pipe cleaner and glued the eyes on.  When everything is dried put them on your finger and play.


Friday, October 11, 2013

Project Learn and Grow

Bouncing and Shrinking Eggs
Today we experimented with eggs.  I have seen a lot of pins on pinterest about how to make eggs bounce so we had to try it.  
All you need:
  • Eggs
  • Vinegar
  • Corn syrup
  • Water
  • Food Coloring
  • Sugar
We started out soaking the eggs in vinegar for 1-2 days.  We just put the eggs in a bowl and made sure they were covered with water.  We soaked them for 2 days and the eggs shells came right off and dissolved in the vinegar.  Then you can lightly bounce them on the counter top.  You need to be very careful doing this or they will break.  Just the outside is bouncy.  Colin got a little excited and broke a couple of eggs.  
Next we took a bowl of just water and a bowl of water with lots of sugar in it and wanted to see which one floated and which one sank.  The kids loved seeing how the egg floated in the sugar water and the egg sank in just water.  
Then we decided to color the egg that we shrank so we stuck it in a bowl of water and green food coloring.  This just takes 30 minutes to get it a decent color.  Then we put it in the bowl of corn syrup and let it sit for 24 hours.  The next morning it was a shrunken egg.  
To make the egg big and bouncy again we put it into a bowl of water and after 2 hours it was back to it's bouncy size.  
This was really fun for the kids.  They loved seeing how much the egg changed everyday.  

Tuesday, October 8, 2013

Elephants and Counting Candy Corn

Letter E
Elephants
All you need

  • Paper Bag
  • Blue, white, and brown construction paper
We did the letter E today.  We started out tracing the letter E and then we made these elephant puppets. I cut out the ears, trunk, and eyes for the elephant.  The boys glued on everything and it was done.  A hand puppet elephant that the kids love to chase each other with.
Counting Candy Corn
All you need

  • Orange and white paper
  • Candy corn

Since it's October I wanted to do a simple Halloween counting activity.  I just cut orange pumpkins out of paper and glued them to the white paper.  Then I decorated it so they looked like pumpkins and put numbers on them.  We just did 1-6, but next time I think I will do 11-20.  Cody is really good at 1-10.  I just wanted to see how they liked this activity.  They loved it especially since there was candy involved.  Candy Corn Men
All you need

  • White, orange, yellow, and brown paper
  • Glue

I cut a big candy corn shape out of the brown paper and drew 2 lines on it to have an outline of candy corn.  Then we ripped up the yellow, orange, and white paper.  the kids glued the little pieces of paper all over the brown paper to look like candy corn.  I cut out 2 stripes of brown paper and folded it like and accordion for the legs and arms.  Then I cut out some hands, feet and eyes that the kids glued on.  With everything all glued on it they turned out like candy corn men.


Thursday, October 3, 2013

What Dissolves?

Project Learn and Grow
What Dissolves? 

All you need

  • Glass jars
  • Water 
  • Anything you want to see if it dissolves

For project learn and grow day we wanted to see what dissolves in water.  I just grabbed a bunch of items from our pantry and filled the glass jars halfway with water.  One by one we tested each item.  We used cinnamon sticks, sugar, rice, red hots, oatmeal, raisins, baking soda, and salt.  The kids thought everything would dissolve and loved stirring the items.

Density
All you need

  • A glass jar
  • Honey, karo syrup, dish soap, water, vegetable, rubbing alcohol, lamp oil.  
  • Food Coloring
We measured out each liquid into 8 oz each.  Then we poured each liquid into the jar slowly and in the center so it didn't touch the sides.  We colored the liquids that had no color.  This is where we messed up.  Be careful about what colors are next to each other.  We had blue and purple right next to each other so the center part looks like one big dark color.  The kids could still see the liquids sitting on top of each other, but for the picture it didn't work so well.
The kids liked this one, but it was a little hard trying to get them to not pour the liquids since we needed it to be slow.  I want to try it again with different colors.

Tuesday, October 1, 2013

Donuts and Dinosaurs

Letter D Donuts
                   

The letter D is one of the funniest letters for my kids.  We worked with donuts and dinosaurs and had a blast.  We got a bunch of donut holes and put them all around the letter D and then we ate a few after we were done.
I let the boys pick out their favorite donut and on the way home they couldn't help but to eat them.  Cody took bites out of his so it formed the letter D.
Dinosaur Footprints
All you need:

  • Paint
  • Paper
  • Dinosaurs
We just dipped the dinosaurs feet in paint and put the feet on the paper.  The kids got too much paint on the feet so there are some big footprints, but after putting the dinosaurs feet on the paper a few times they formed some good prints.
I forgot how much they like dinosaurs so now I want plan a trip to the Dinosaur Museum that is near us.
Shapes, Stickers, and Dinosaur Cards
We also did an activity on shapes.  They just stuck stickers all around the different shapes.  Cody wanted some shapes to have more stickers then other shapes.  While we were doing that I got the dinosaur cards and read them all of the fun information about the different dinosaurs to them.

Thursday, September 26, 2013

Project Learn and Grow Clouds

Cloud Jars
For our project learn and grow day we experimented with cloud jars.  We are studying the letter C and the kids love food coloring so this was perfect.
All you need

  • A jar
  • Shaving cream
  • Food coloring
  • Water
  • Droppers
We filled cups up with water and food coloring.  Then we filled the jars 2/3rd full of water and applied shaving cream to the top.  The more shaving cream you add the longer it takes for the food coloring to go down into the jars.  It took us about 30 minutes to see good results, but the kids never got bored.  Just dip dropper into food colored water and drop it onto the shaving cream.  Have the kids do it over and over again until they are amazed by the transformation.
This is how they looked when they were all done.  Cody's is the middle jar, he added so much at the end it was all one color.  The other two are hard to see, but the color is slowly moving down the bottom.
Soap Cloud
All you need

  • Bar of Ivory soap
  • A plate
Just stick the soap on the plate and put it in the microwave for 2 minutes.  After a few seconds it starts to form into a cloud and the kids like watching it get bigger and bigger.  Remove it from the microwave and let it cool.  Then the kids can hold it.
After we were done with that we decided to make bath paint out of it.
Bath Soap Paint

All you need

  • The bar of Ivory soap microwaved and crumbled
  • Boiling water
  • Blender
  • Food coloring
  • Plastic cups
Put the crumbled soap into the blender.  Pour a small amount of boiling water into the blender and blend until it has a yogurt consistency.  Then stir in the food coloring.  When the kids took a bath it had got hard so I stuck the cups in the microwave for a few seconds to soften it up.  Watch it while in the microwave cause it will rise up and spill out.  We then took it to the bath and used paint brushes and the kids had a blast.

Tuesday, September 24, 2013

Letter C

Numbers and Colors
All you need
  • Empty water bottles
  • Paint
  • Pom poms
  • Dry erase marker
  • Scissors
Just cut a hole in the bottom side of the water bottle right where the pom poms are.  Leave a lip at the bottom so they don't fall out.  Paint the colors you want to use around the bottle.  I used a dry erase marker to write the numbers on the top so I could wipe them off and reuse it for another number.  I put all the pom poms out and started with number 1 and went to 10.  Colin struggles with his colors so this activity was mostly for him.  By the end of the activity he was doing really good and could sort them all by himself.  

Paper Color Wheel
All you need
  • Paper cut into a circle
  • Different colors and designs of paper
  • Glue
I just cut a circle out of paper and cut up all the different colors of paper.  We started with the color blue and did red.  This activity was a little time consuming for the kids so we will do the other colors for another lesson.
Rainbows
All you need
  • White paper cut into a cloud shape
  • Different colors of paper cut into strips
  • Glue
I cut out a cloud for them and they picked their strips of color and glued into onto the cloud.  Even though this activity was really easy they loved it.  I think this was their favorite.


Thursday, September 19, 2013

Making Playdough and Bubble Snakes

Today was project learn and grow day so we made play dough, bubble snakes, and attempted making giant bubbles.  The boys love to be in the kitchen with me so for both of these experiments they helped me a lot.
Play dough


 All you need:

  • 1 cup flour
  • 1 cup water
  • 1/4 cup salt
  • 2 tsp cream of tartar
  • 1 Tabls vegetable oil
  • Food coloring 4-5 drops
Dump all the ingredients into the pot and give it a good stir.  Put the pot on the stove on medium, stirring constantly, until it forms into a ball.  When it forms into a big ball take it off the heat and dump it onto wax paper.  Let it cool, and then knead it until it is soft.  Let the kids help.  My kids love to dump things into the pot so I pour and they dump and of course they stir for a little bit.  I got the recipe from the girls at how does she.  I love how they put the play dough in tupperware and give it away as presents.


When we finished making the play dough we made the letter B, a bug (spider), a balloon, and blocks. Cody and Colin worked on making balls and we colored it blue.

Bubble Snakes
We tried to make giant bubbles like the ones on pinterest, but we didn't succeed.  If anybody knows a great recipe for them I want to know it.  Instead we made bubble snakes.
All you need:

  • Plastic water bottle
  • Sock
  • Duct tape
  • Dish soap
  • A little water
  • Bowl


 Cut the bottom off the water bottle.  Put the sock over it and tape it on.  Dip the bottom of the bottle into the soap mixture and blow as hard as you can.  I used too much water, but with less water then the bubbles form into a snake.